First of all, if you haven’t signed up for Swagbucks yet, you need to! It’s a FREE way to earn “swagbucks” that can be used for things like gift cards to Amazon.com. (My favorite, by the way!) Today is a great day to join because it is Mega Swagbucks Friday. That means that when you use swagbucks.com as your search engine, you can earn bigger swagbucks than usual. Check it out by clicking “Sign up” on the widget below:
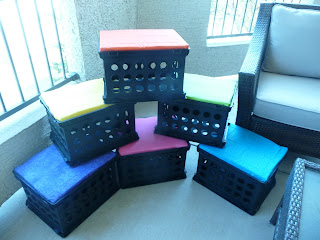
Now for the new storage stools! I told you last night that I was working on a project, and I’m now finished. You first read about these storage stools at What the Teacher Wants or Fantastic in First. I decided to make the stools for myself!
Apparently, this has been all over Pinterest, but I just saw it and decided to try it! Here is my version of the tutorial with a few time-saving shortcuts!
Materials:
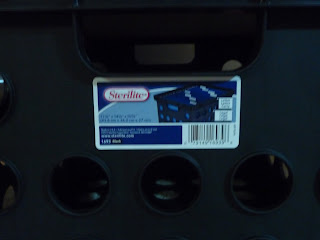
- A storage crate for each stool you want to make ($3.88 at Wal-Mart right now! Be sure you get the ones with the lip for hanging files or it won’t work!)
- Plywood (I used 3/8″ thick) PRECUT ($11 at Lowe’s, cutting is free but you MUST take the crate with you so the happy helper at Lowe’s can be sure it fits perfectly!)
- Spray Adhesive ($5 at Lowe’s… much cheaper than at an actual craft store)
- Foam Mattress Pad ($9 for twin size at Wal-Mart… free if you get an old one from your parents!)
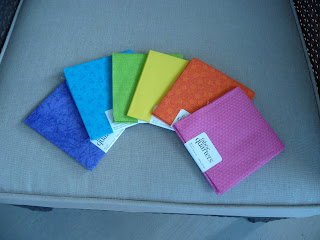
- Fabric Quarters size 18″x 21″ ($1.99 at JoAnn’s Fabrics… plus 15% educator discount. I found this to be cheaper and easier than buying fabric by the yard that I would have to trim later)
- Staple Gun (FREE if you borrow from your loving brother like me!)
- Staples with a shallow depth so they will not stick out of the plywood. I used 1/4″ deep staples (FREE because my brother had them on hand!)
- Scissors
- Sharpie
First of all, I said this before and will say it again, Make sure you have the happy helper at your favorite Home Depot or Lowe’s cut your plywood for you. DO NOT forget to take your crate with you. He was able to measure, cut, try to fit it in the crate and then cut again to find the exact size. The plywood will fit on the lip of the storage crate made for hanging files.
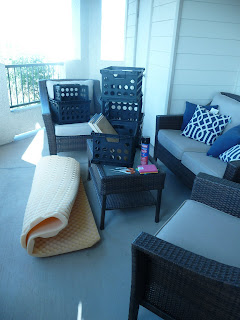
1. Gather your supplies.
2. Trace the cut plywood on the mattress pad and cut out.
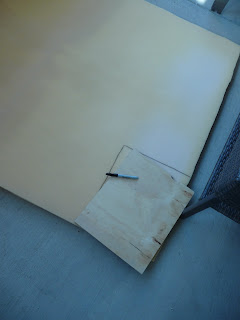
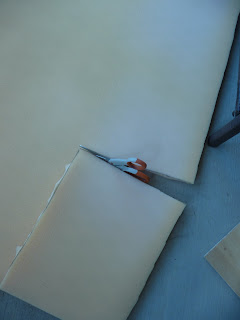
3. Use the spray adhesive to adhere the mattress pad to the plywood. *NOTE* If you get the egg crate kind of mattress pad, put the egg crate side down so the seat will not be bumpy on top.
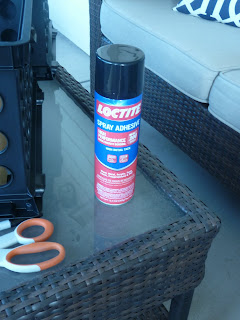
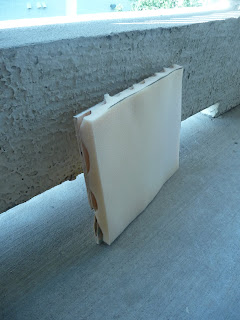
4. Lay out one of the fabric quarters and center the board, foam side down, on the fabric.
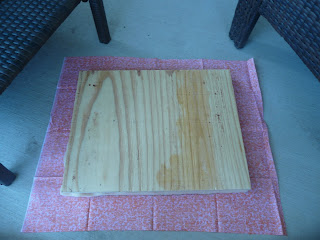
5. Wrap the board much like a present, but use the staple gun instead of tape! Look at the pictures below to follow which sides I did first. *NOTE* On the first seat I did, I pulled the fabric too taut, so the seat is uneven. Do not pull the fabric too taut if you want it to look smooth. I think the wrinkles on my seats will come out with time or ironing… but time seems easier! 🙂


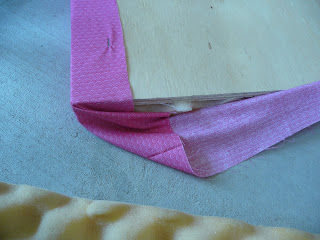
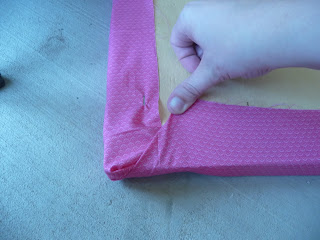
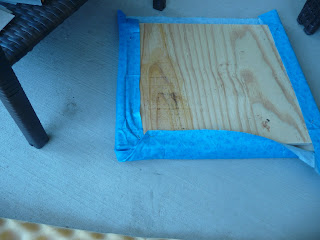

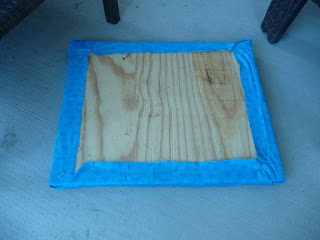
6. Insert seat into storage crate and admire your creation!
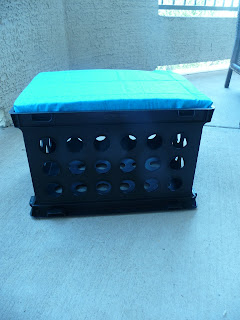

Can’t wait to get in my classroom in August, use the space in the stools to free up my cabinets, and use them as chairs at my Guided Reading Table!


