Today I had a chance to get back in my room and I started working on the bulletin boards. (It’s a new room to me, so I had nothing up yet… less than two weeks until day one!)
After looking at some different ideas online, I decided I could add some tissue paper flowers to my boards!
Here is the first one that I added them to:
I found a tutorial here.
Here’s the basic run-down…
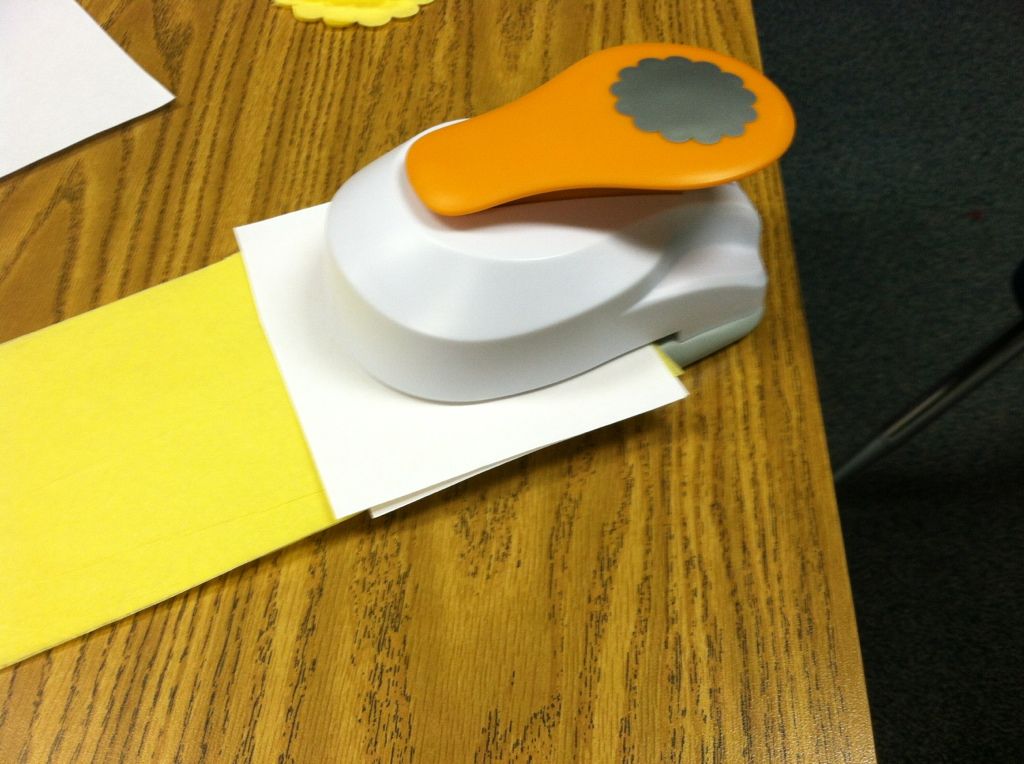
First of all, I had to buy this Fiskars punch. It makes it soooo much easier!
So here’s what you need:
- tissue paper
- regular paper
- Fiskars Punch
- stapler
1. Cut the tissue paper into long strips.
2. Sandwich the tissue paper with regular paper to prevent tearing.
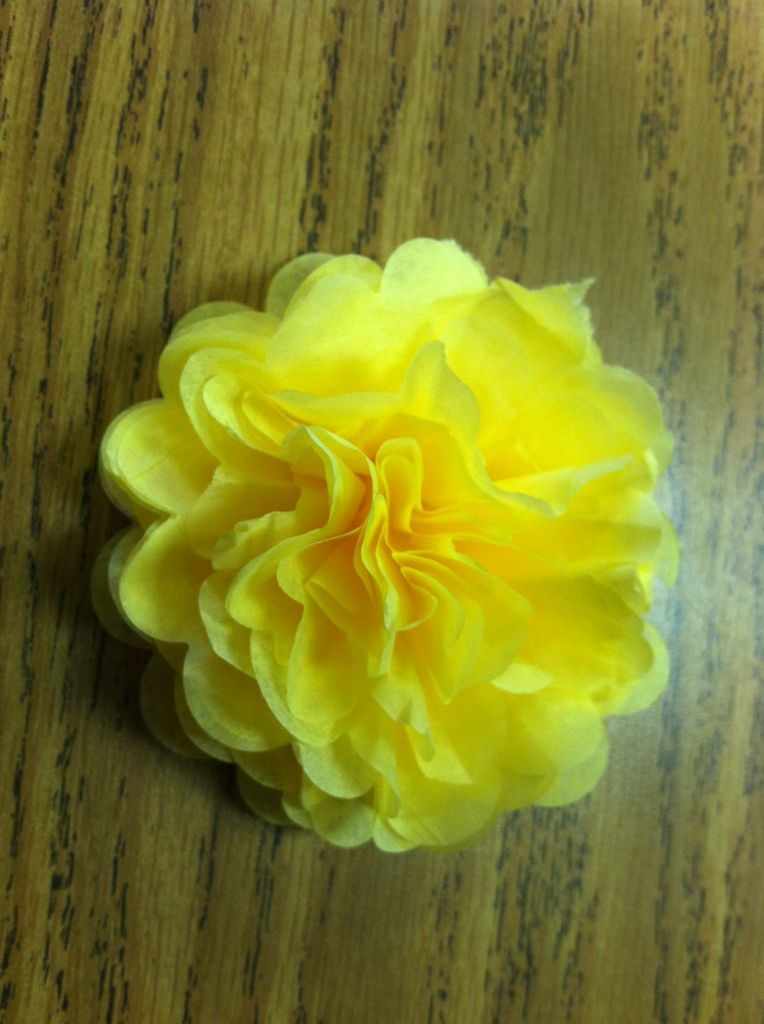
3. Cut as many scalloped circles as you want (the more, the fluffier) and staple them together in the center.
4. Pull the top piece up toward the top.
5. Continue pulling up the pieces until it is finished. I kind of squeeze it together as I pull it up to get it to look how I want it to.
6. Add the finished flower to any bulletin board to add a little pop!
I was a little disappointed at first because somehow I expected the tissue flowers to be a bit bigger. It didn’t look very good when I just added one, but with three I think it looks great!
How do you add a little pop to your bulletin boards?


